Release Notes Guidelines
Features
- Add link to the git commit or pull requests at the end of each feature.
Not every commit relating to the feature needs to be listed. The
main commits introducing it are sufficient.
Add them at the end of the paragraph, after the full stop, between parentheses.
(blender/blender@<commit-hash>)for commits(blender/blender#<issue-number>)for issues(blender/blender!<pr-number>)for pull requests
- Whenever possible, link to the manual entry where to read more about the feature. Make sure to link to the specific version of the manual that matches the Blender release.
Text
- Do not use abbreviations for features, editors, properties, etc.
Images and Videos
- Use the default theme
- Keep videos short
- Do not use the Blender logo for demonstrations
- Do not write text nor add arrows to the screen captures, explain in the caption
- Remove unnecessary clutter
- Capture only the relevant editor(s)
- Hide irrelevant sidebars or panels
- Credit artists that created the scene in the caption
Blend Files
Demo files help demonstrate new features. These can be linked from release notes and potentially the Demo Files page on blender.org.
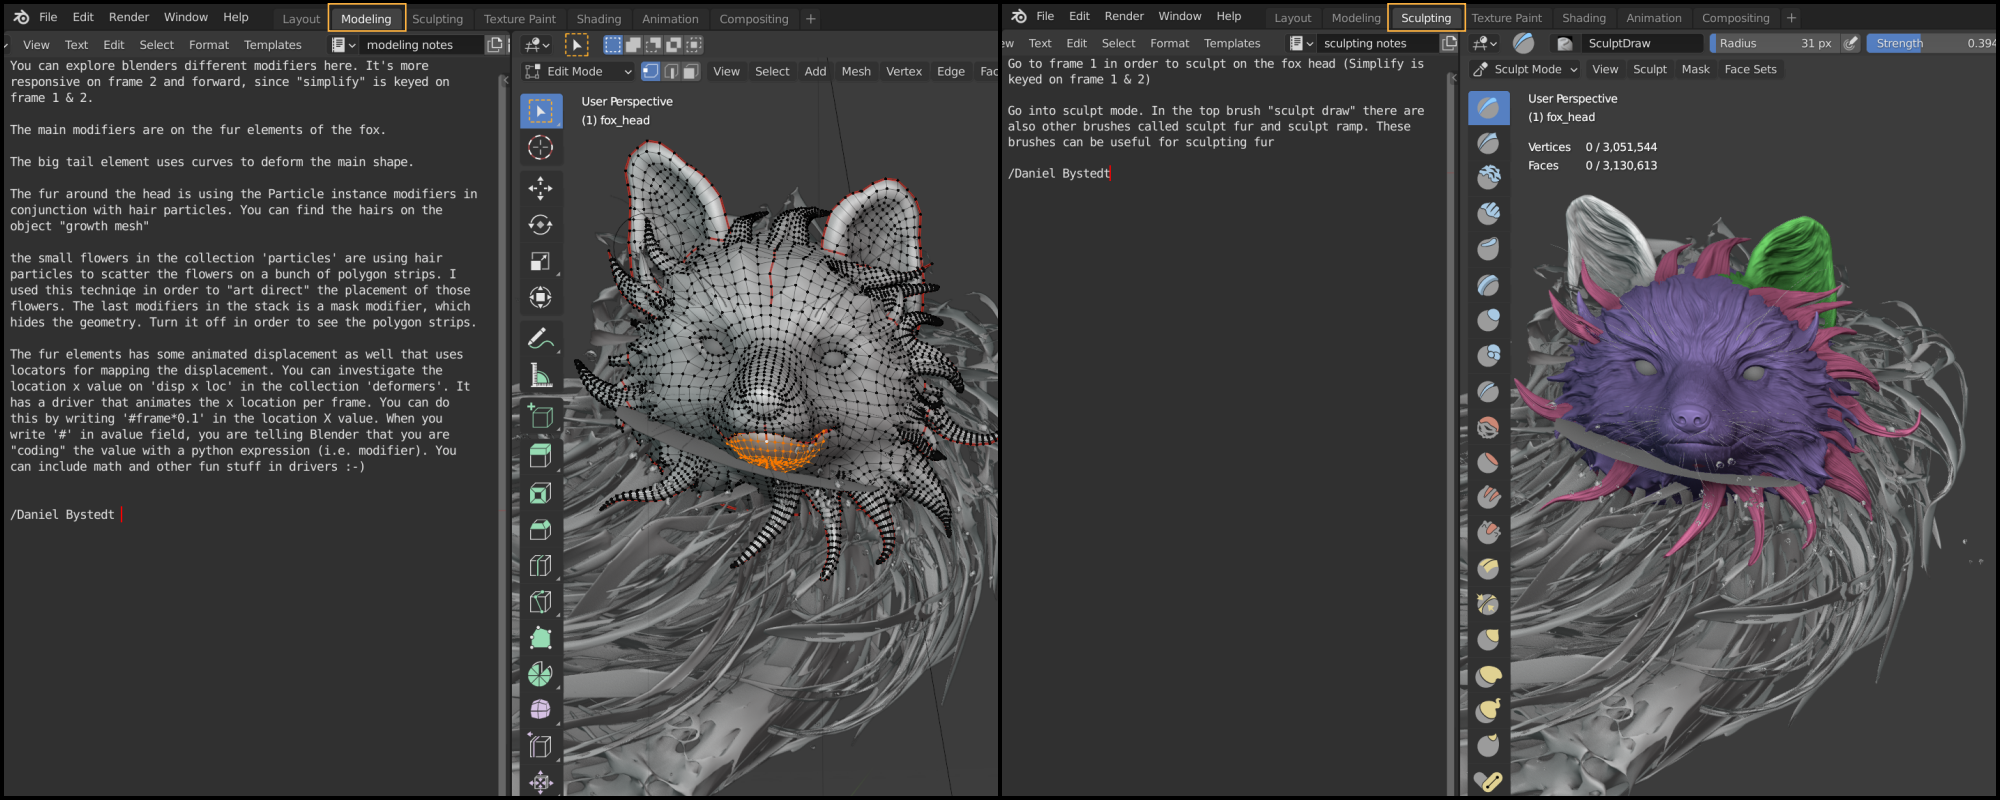
- Include a Text Editor window with a text datablock named
README, with:- Some info / instructions regarding the scene, comprehensible for novice Blender users.
- The Creative Commons license type: CC-0 (preferred), CC-BY or CC-BY-ND.
- Your name or nickname.
- A URL (e.g. your portfolio or Twitter profile URL).
- Optionally, you may choose to add a specific info text to different workspaces, to explain more of your creative process (see example screenshots below). This is appreciated but not required.
- Check if the scene doesn't include settings that may confuse novice
users, such as a locked camera. If such a setting is essential to the
demo's functioning, please include a notice in the
READMEinfo text.
- Check if the scene does not only render correctly in the viewport, but also when pressing F12.
- Don't include self-promotion / signatures / logos as a part of the
demo scene. You can include a credit in the
READMEinfo text.
- Make sure no copyrighted models, textures or other assets are present in the scene.
- If uncopyrighted assets (image textures, HDRI environments, etc.) are part of the scene, make sure they are packed into the Blend file, using File menu ➔ External Data...
- Save the scene from the most recent appropriate Blender version to ensure compatibility with the final release version.
- To minimize the file size, activate the Compress option in the File ➔ Save As... file dialog options panel when saving the Blend file.
- In case of multiple Blend files showcasing related features, please
consider merging the demos into one Blend file containing multiple
Scenes, naming the Scenes appropriately and mentioning the presence of
multiple Scenes in the
READMEinfo text.
Publication on blender.org
If the demo files is put on blender.org, it will be first added in a deactivated state and then enabled once the release is out.
Be careful to test the demo file in the final Blender release, in case changes to functionality were made that break the file.